20 Best DIY Kitchen Decor Ideas You’ll Love
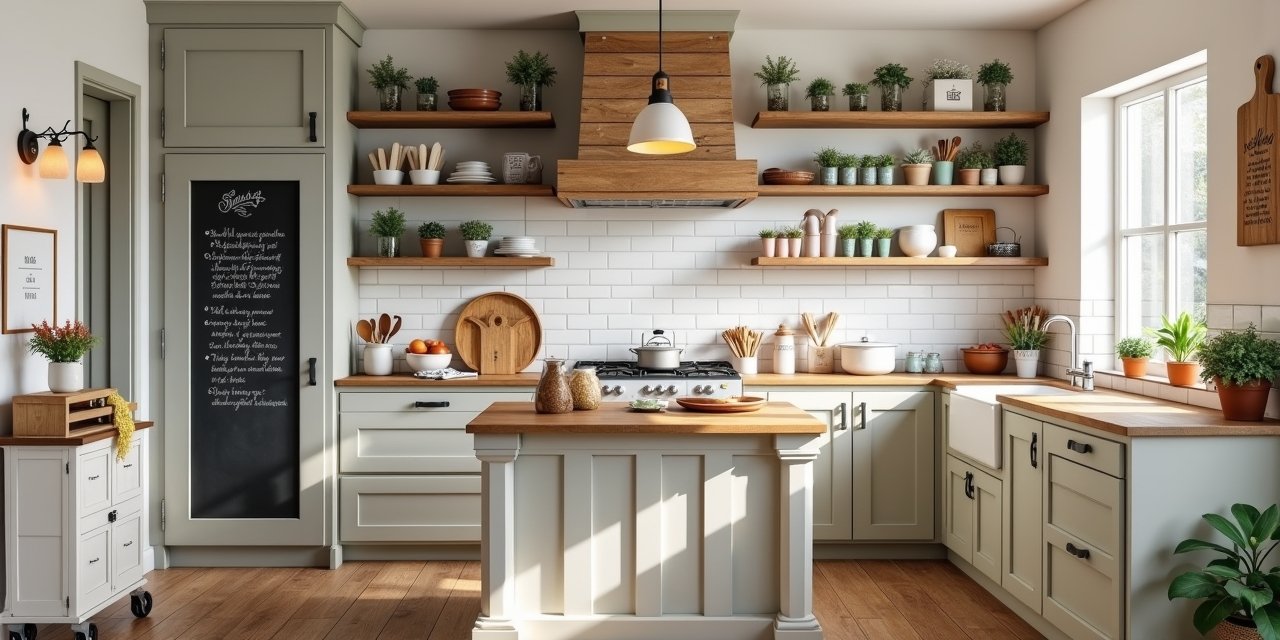
Explore the 20 Best DIY Kitchen Decor Ideas You’ll Love to transform your cooking space with style and charm.
Start your DIY kitchen decor journey today and bring a fresh, personalized touch to your home!
From rustic shelves to hanging pot racks, explore easy homemade kitchen decorations, space-saving solutions, and modern farmhouse vibes—perfect for any kitchen makeover.
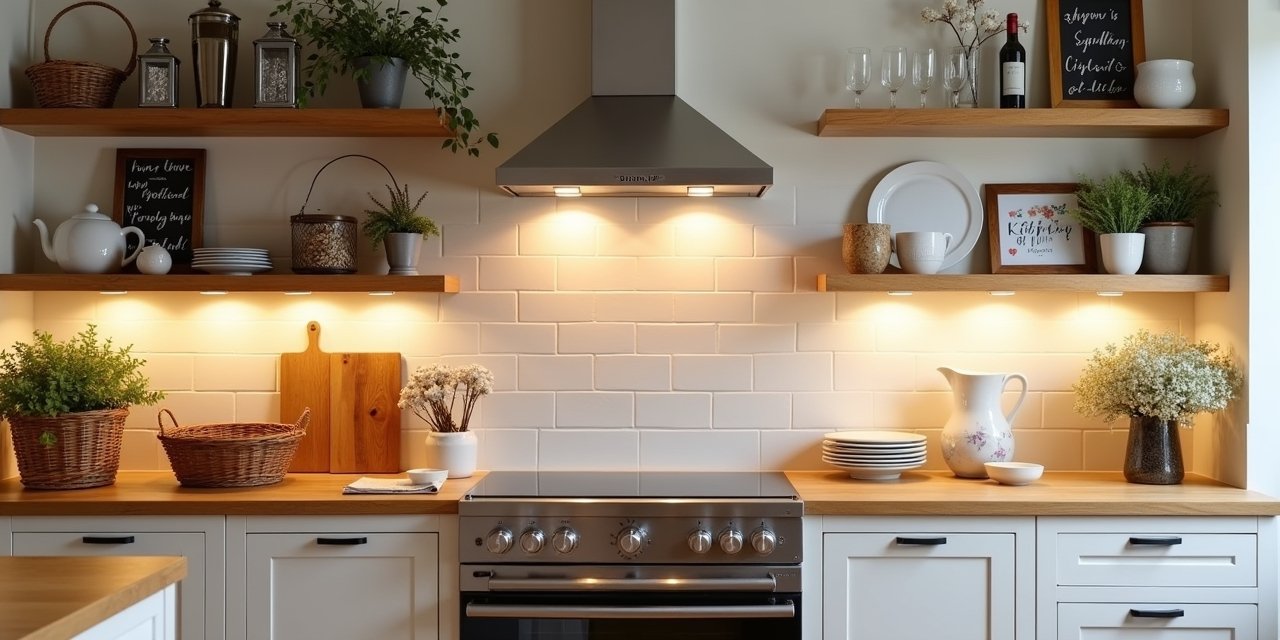
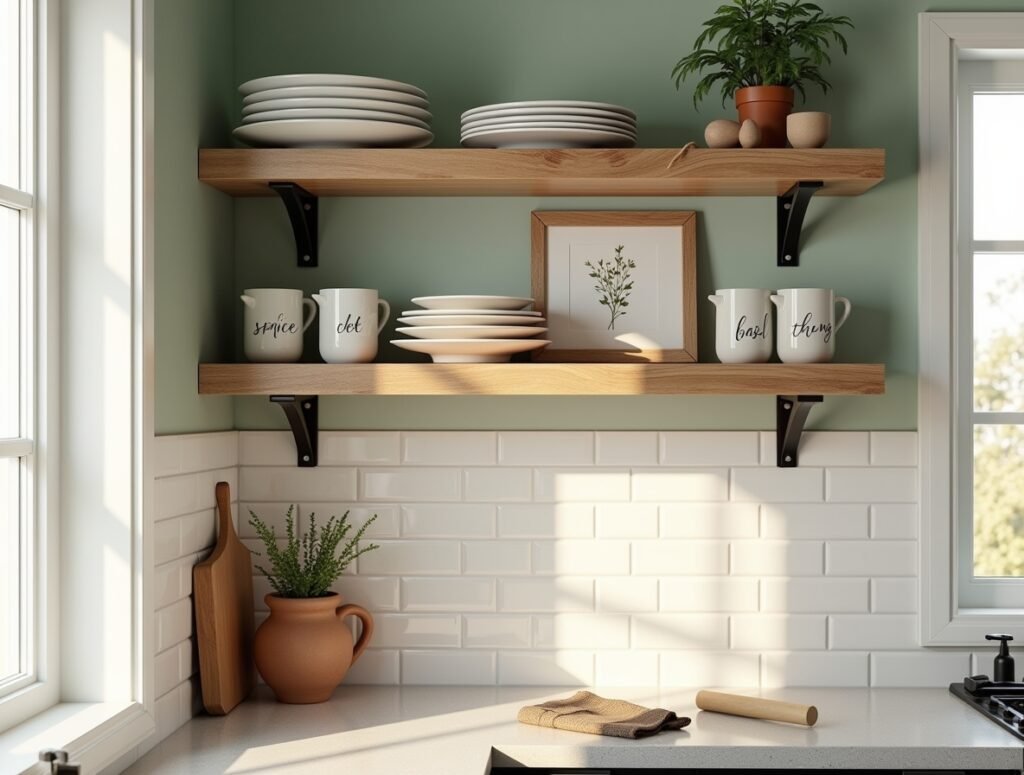
1. Rustic Wooden Shelves
Overview
Rustic wooden shelves add a cozy farmhouse touch to any kitchen.
They offer a practical storage solution while also displaying your prettiest dishes or spice jars with charm.
Items Needed
- Wooden planks
- Sandpaper
- Wood stain
- Wall brackets
- Screws and wall anchors
- Drill
How to Arrange
Sand and stain the wood to your preferred finish.
Once dry, mark your wall for bracket placement.
Secure brackets into wall studs, then place the stained wood on top.
Decorate the shelf with jars, mugs, or small potted herbs for a functional, rustic look.
2. Mason Jar Herb Garden

Overview
A mason jar herb garden brings greenery into your kitchen while providing fresh herbs for cooking.
It’s compact, decorative, and eco-friendly.
Items Needed
- Mason jars
- Chalkboard labels
- Soil
- Herb seeds (basil, mint, thyme)
- Wall-mounted rack or wooden board
- Hose clamps
How to Arrange
Fill each mason jar with soil and plant seeds.
Attach hose clamps to a wooden board or rack and secure the jars. Label each with chalkboard tags.
Hang near a window to ensure sunlight. Water lightly and enjoy fresh herbs at your fingertips.
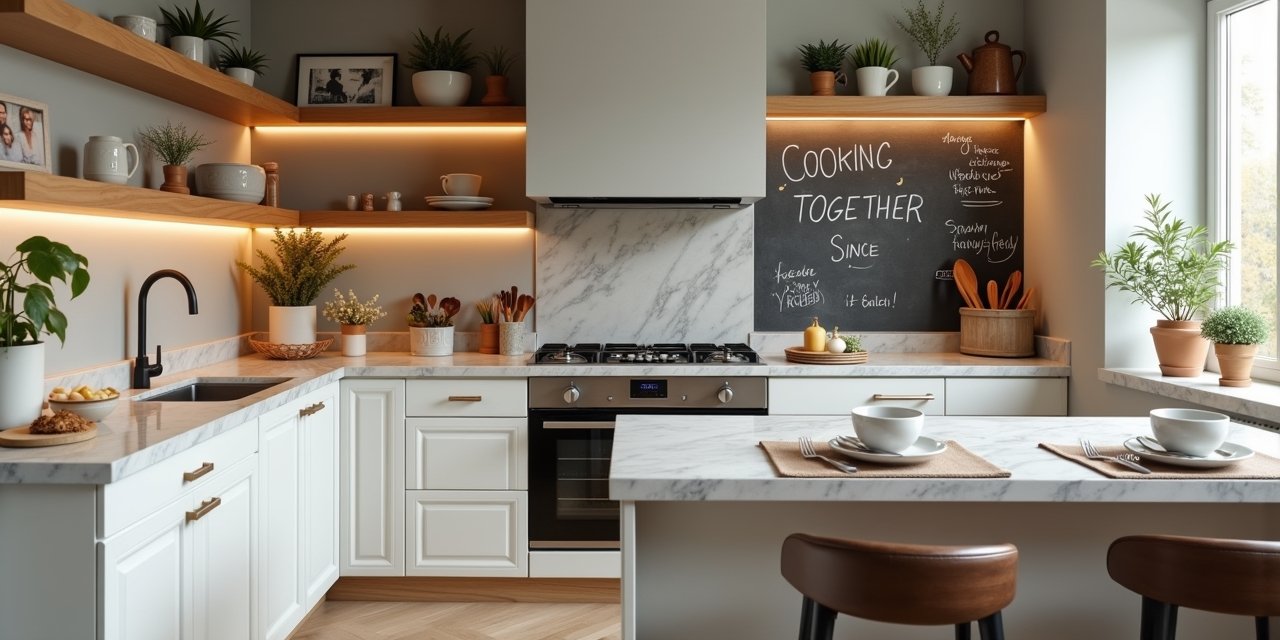
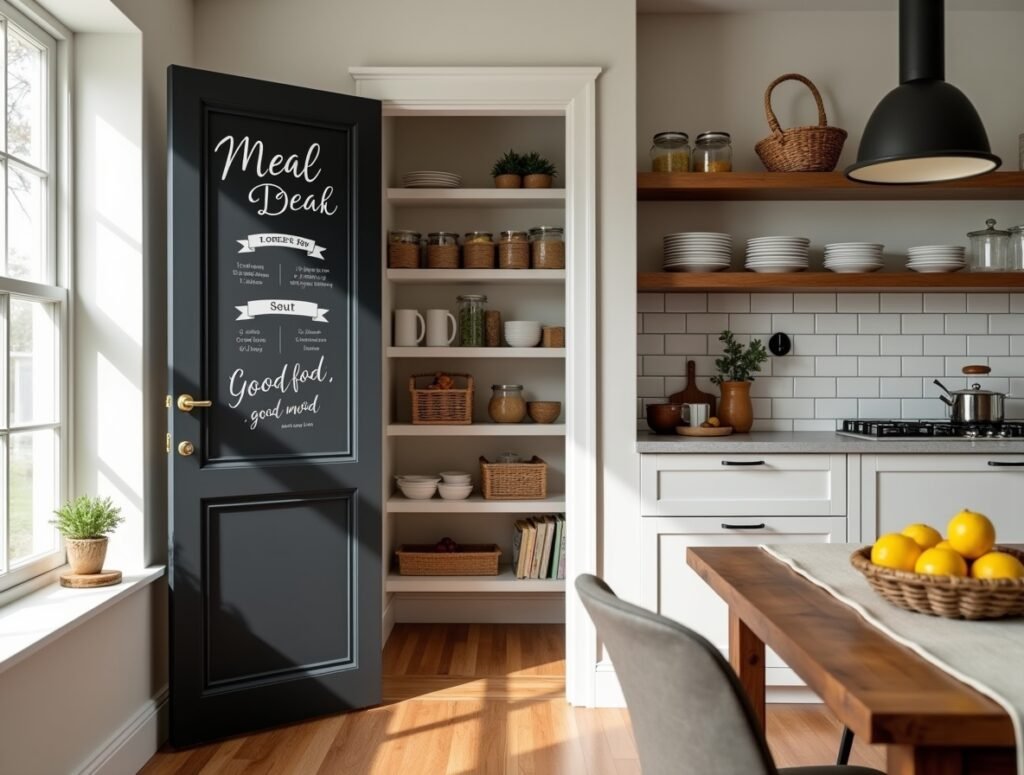
3. Chalkboard Pantry Door
Overview
Transform your pantry door into a writable chalkboard for menus, grocery lists, or inspirational quotes.
It’s fun, functional, and adds personality to your space.
Items Needed
- Chalkboard paint
- Painter’s tape
- Paint roller or brush
- Chalk
How to Arrange
Tape off the edges of the pantry door. Apply 2–3 coats of chalkboard paint, letting each layer dry.
Once cured, condition the surface by rubbing chalk over it, then wipe clean.
Now you’re ready to write messages, lists, or doodles that change with your mood.
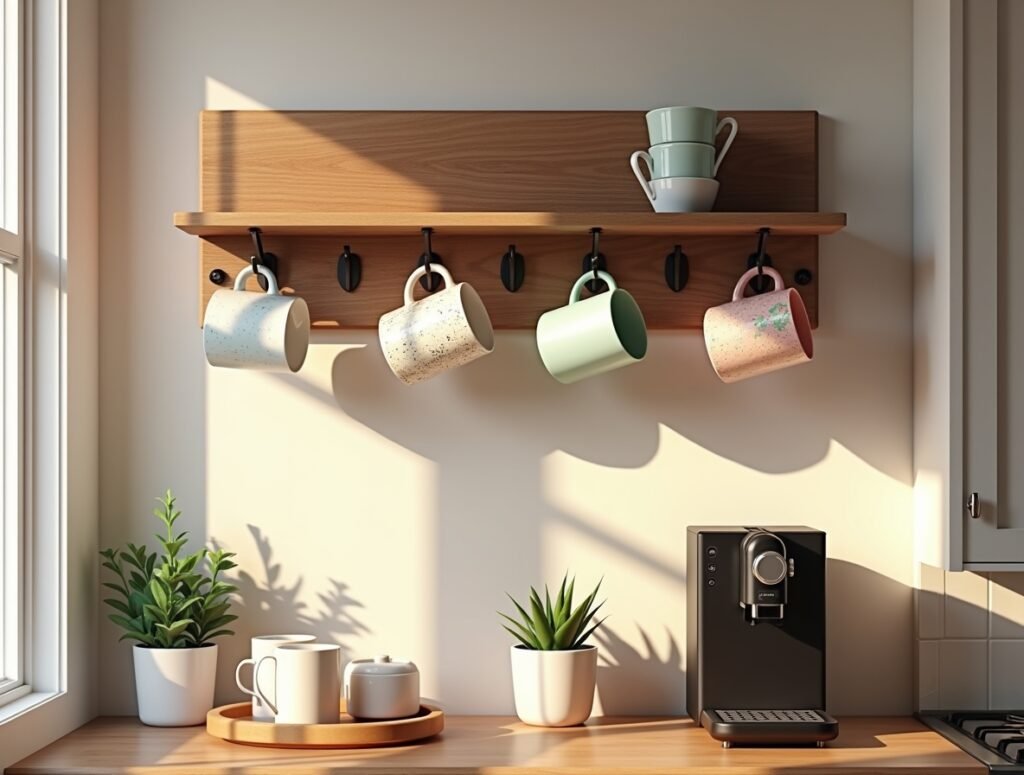
4. Floating Cup Racks
Overview
Show off your favorite mugs while freeing up cabinet space with a DIY floating cup rack.
It creates easy access and adds a touch of charm.
Items Needed
- Wooden board
- Hooks
- Drill
- Mounting hardware
- Wood finish or paint
How to Arrange
Paint or stain the board to match your kitchen. Measure and screw in evenly spaced hooks.
Mount the rack on your wall, preferably near your coffee station.
Hang your prettiest mugs for a stylish, ready-to-use display.
5. Vintage Grater Light Fixture
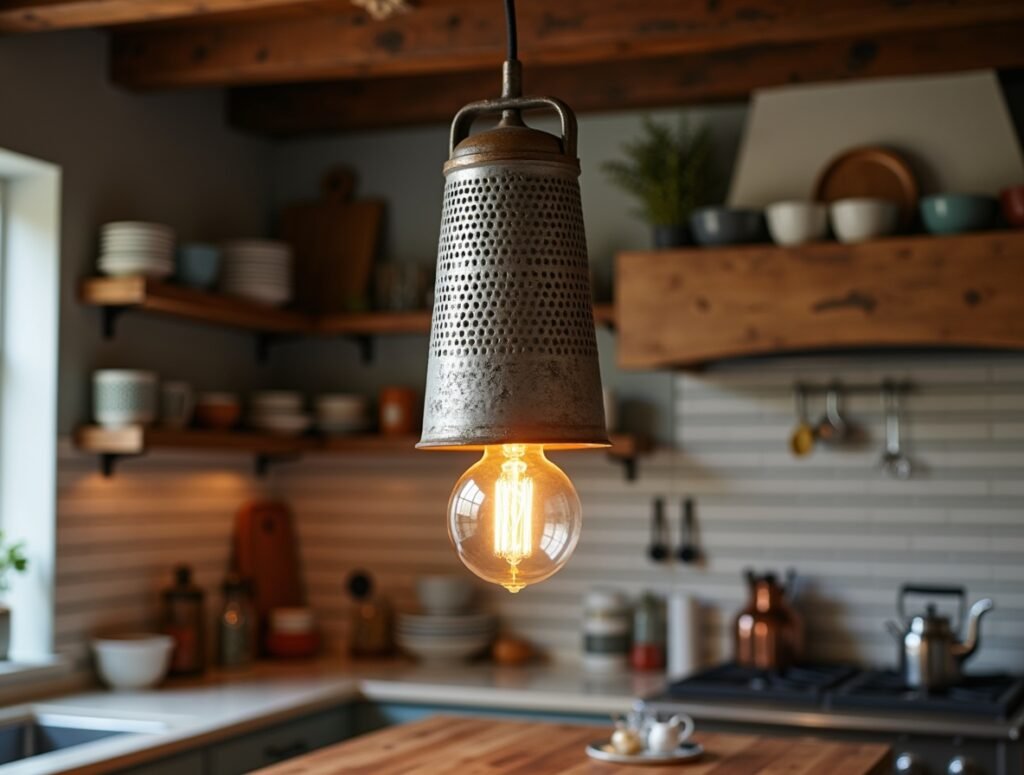
Overview
Turn an old metal cheese grater into a quirky, industrial-style light fixture that sparks conversation and adds vintage charm to your kitchen.
Items Needed
- Vintage metal grater
- Pendant light kit
- Lightbulb
- A chain or cord for hanging
How to Arrange
Drill a hole into the top of the grater to insert the pendant light socket.
Secure the bulb, attach the cord or chain, and hang it above a kitchen island or counter.
Make sure the wiring is safe and stable before switching it on.
Check Out Next: 10+ Best White Kitchen Decor Ideas in 2025
6. Painted Wooden Utensils
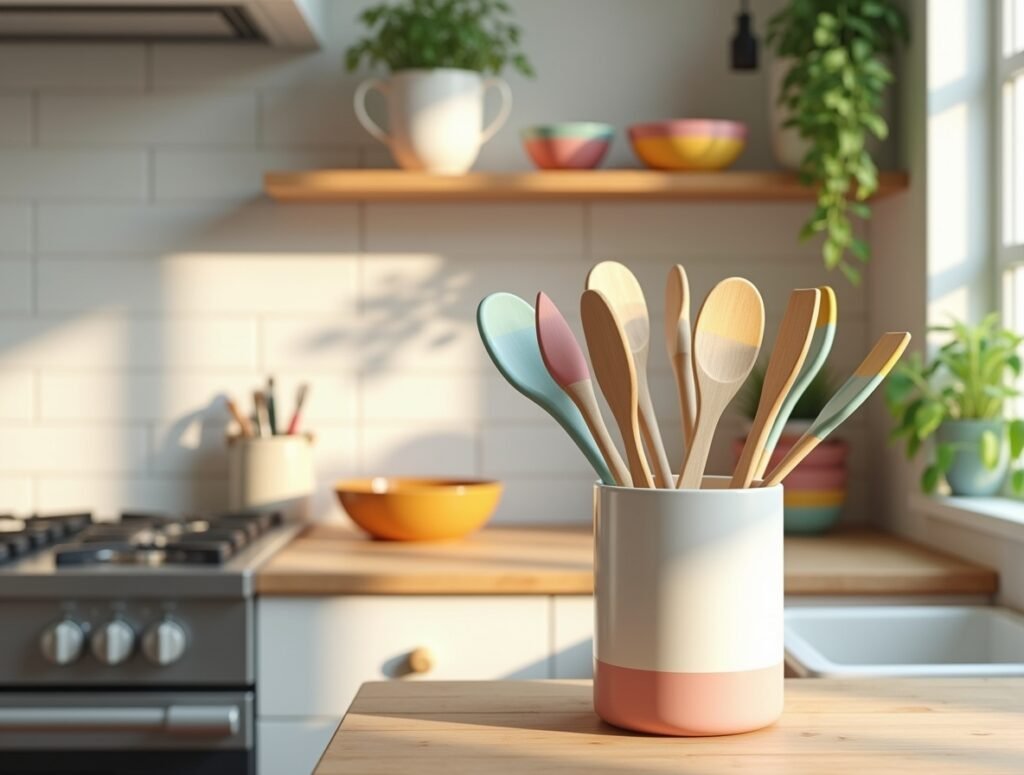
Overview
Brighten up your kitchen with hand-painted wooden utensils.
They add pops of color and personal flair to your utensil holder or open shelving.
Items Needed
- Wooden spoons/spatulas
- Painter’s tape
- Acrylic paint
- Clear food-safe sealant
How to Arrange
Tape off the area you want to paint—usually the handles. Apply 2–3 coats of acrylic paint and let dry.
Seal with a food-safe topcoat. Once dry, arrange in a decorative jar or utensil holder for an instant upgrade.
7. Hanging Pot Rack
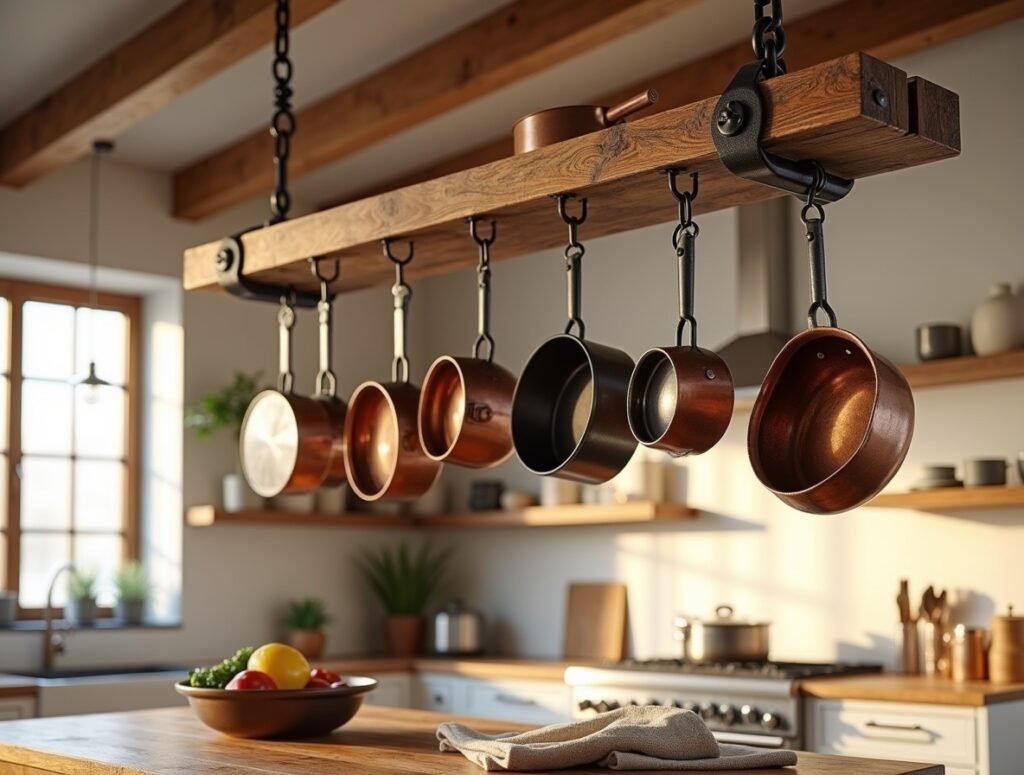
Overview
A hanging pot rack maximizes space and makes your cookware a visual feature.
It’s both stylish and convenient for frequent cooks.
Items Needed
- Ceiling hooks
- Metal rod or old ladder
- S-hooks
- Chains or ropes
- Drill
How to Arrange
Install hooks in your ceiling joists. Hang the rod or ladder using chains.
Attach S-hooks and hang pots and pans. It’s best positioned above an island or corner to avoid blocking views.
It creates a cozy, chef-style kitchen look.
8. DIY Fabric Curtains for Cabinets
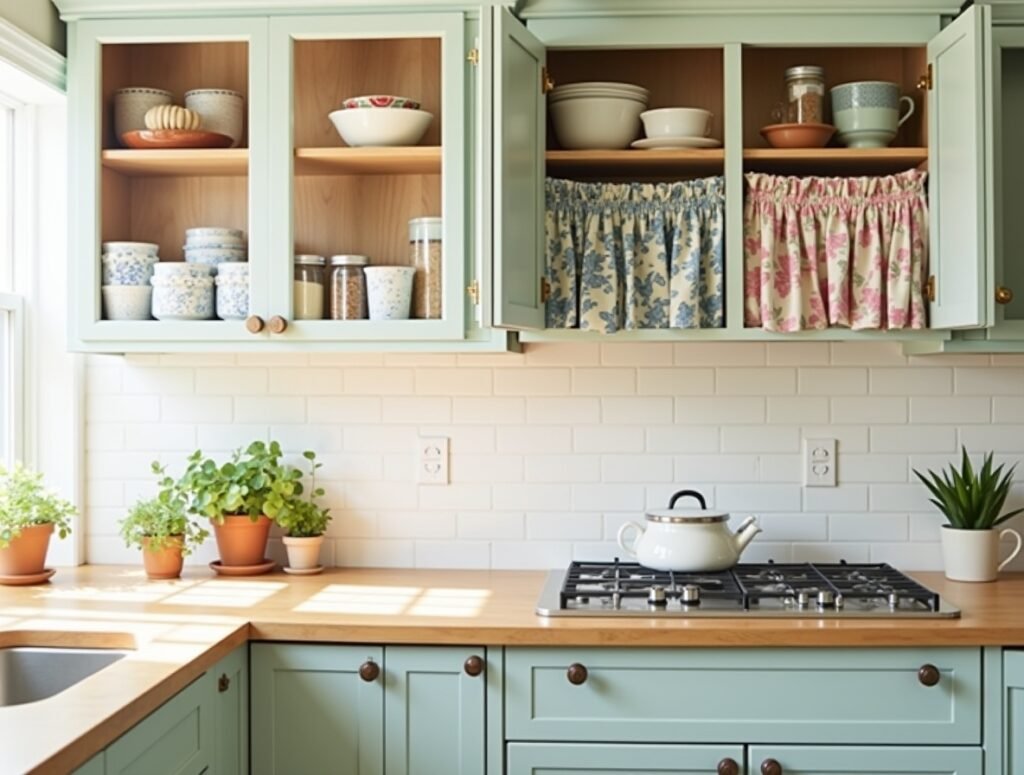
Overview
Hide clutter and add softness to your kitchen with DIY fabric cabinet curtains.
Perfect for open shelves or older cabinets.
Items Needed
- Fabric of your choice
- Tension rods
- Sewing machine or hemming tape
How to Arrange
Measure the cabinet openings. Cut and hem the fabric to size.
Slide the curtains onto tension rods and place them inside the cabinet frame.
Choose gingham, florals, or solids depending on your decor theme.
Check Out Next: 12+ Best Kitchen Counter Decor Ideas
9. Pegboard Organizer Wall
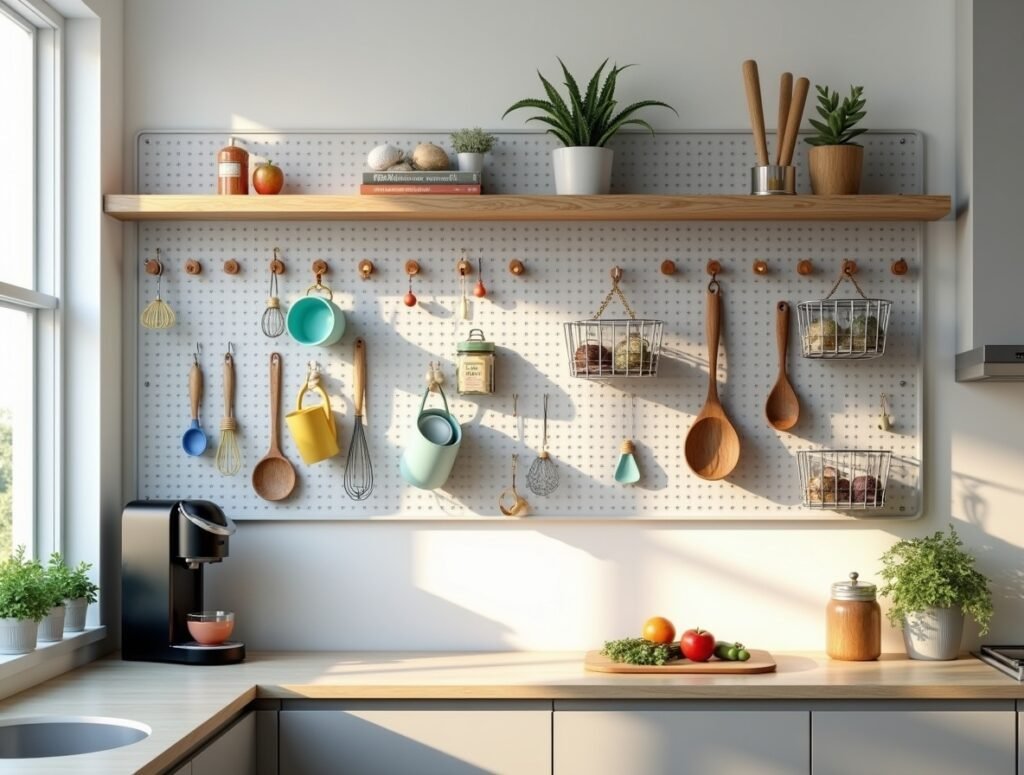
Overview
Pegboards are an excellent way to organize kitchen tools while doubling as a cool, modern design feature.
Items Needed
- Pegboard
- Hooks and bins
- Screws and wall anchors
- Paint (optional)
How to Arrange
Paint the pegboard if desired. Mount it securely to a free wall.
Add hooks and bins for hanging measuring cups, whisks, or spice jars.
Rearrange as needed—it’s highly customizable and saves drawer space.
10. Wine Crate Shelves
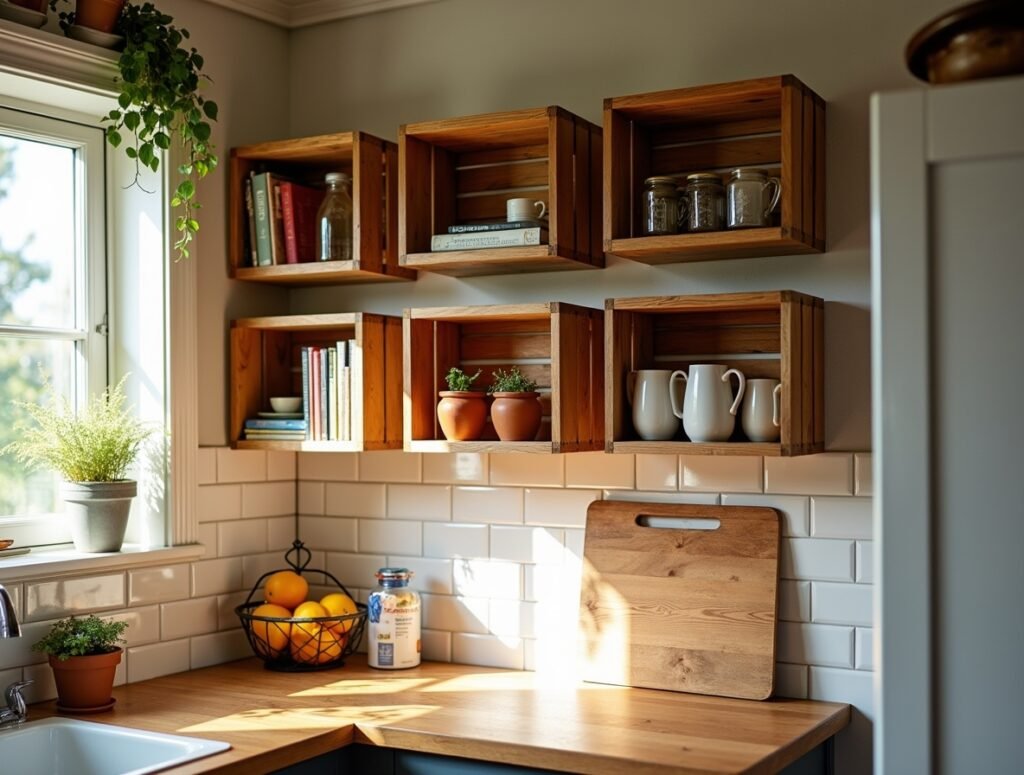
Overview
Repurposed wine crates make perfect rustic shelves for displaying cookbooks, jars, or decorative pieces.
Items Needed
- Wooden wine crates
- Sandpaper
- Wood stain or paint
- Mounting hardware
How to Arrange
Sand and finish the crates. Mount them horizontally or vertically on the wall using screws or brackets. Stack or stagger them creatively.
Fill with items like vintage jars, kitchen towels, or a mini plant collection for character.
11. Stenciled Backsplash
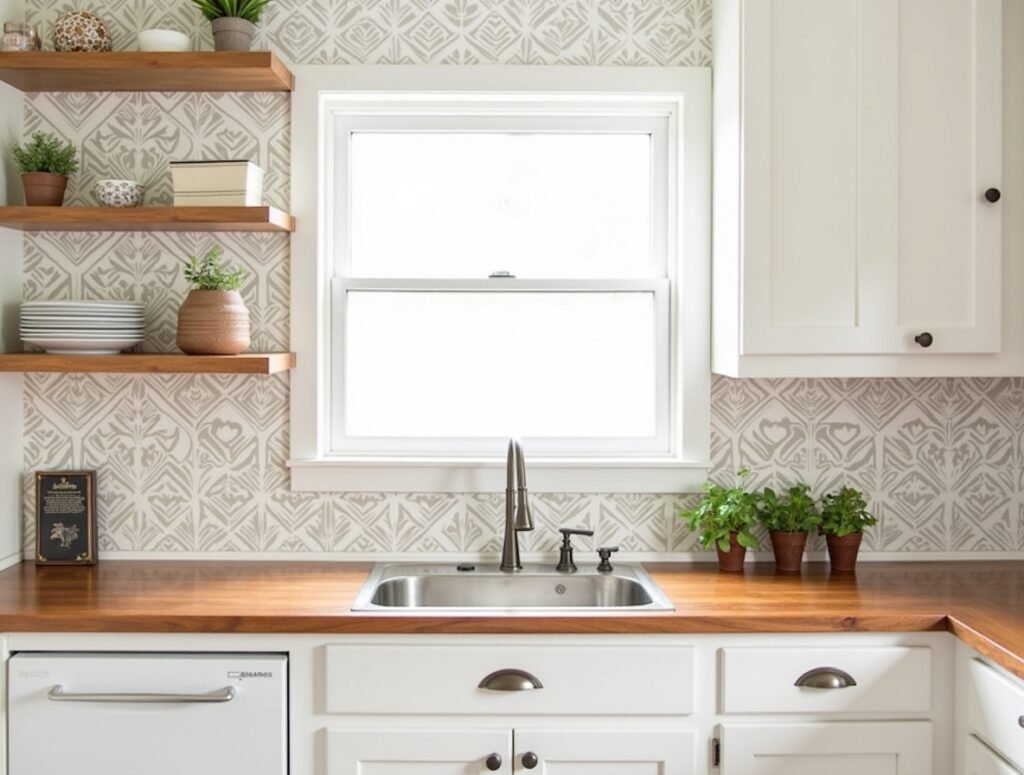
Overview
Create a custom-looking tile backsplash without the cost using stencils and paint.
It’s a budget-friendly way to add pattern and style.
Items Needed
- Stencil
- Painter’s tape
- Acrylic or chalk paint
- Foam roller
- Sealant
How to Arrange
Clean and dry the wall. Tape the stencil in place and apply paint with a roller.
Repeat the pattern across the backsplash area. Once dry, seal the design.
It gives the look of decorative tiles at a fraction of the cost.
12. Spice Drawer Organizer
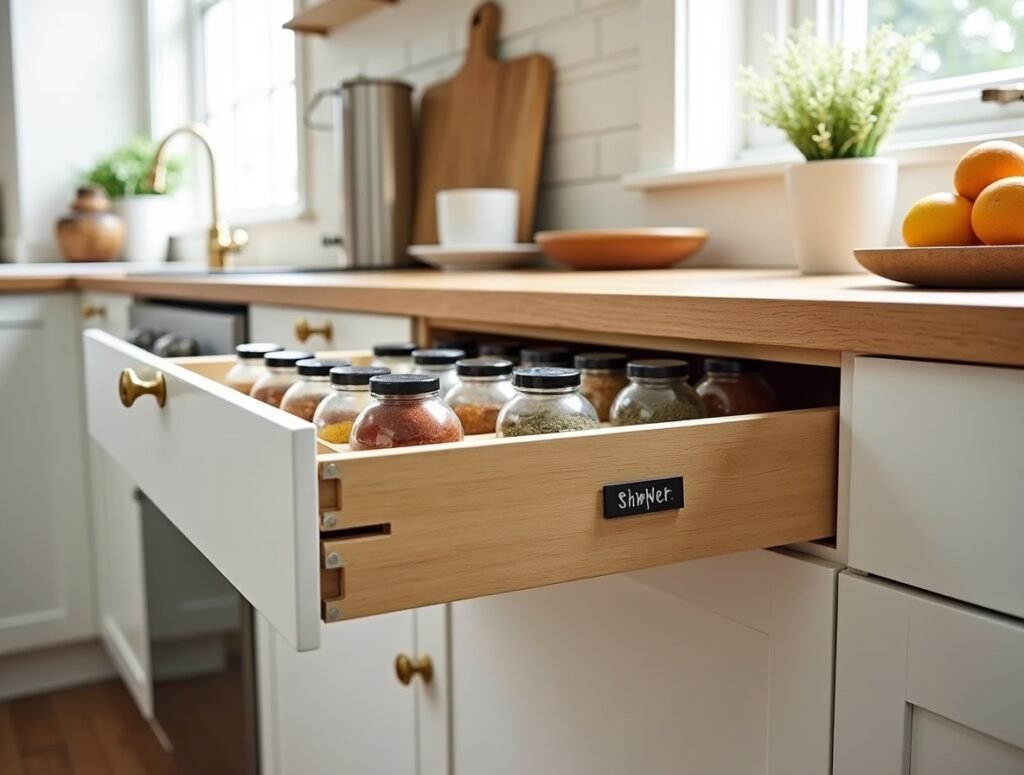
Overview
Declutter your spice collection with a custom drawer insert that organizes spices alphabetically or by category.
Items Needed
- Thin plywood or balsa wood
- Saw
- Wood glue
- Sandpaper
- Paint (optional)
How to Arrange
Measure your drawer and cut dividers to size.
Use wood glue to assemble a tiered or grid structure inside.
Paint or stain if desired.
Organize spices by frequency or cuisine type for efficient cooking and a neat appearance.
Check Out Next: 12 Unique Grey and White Kitchen Decor Ideas
13. Wooden Crate Rolling Cart
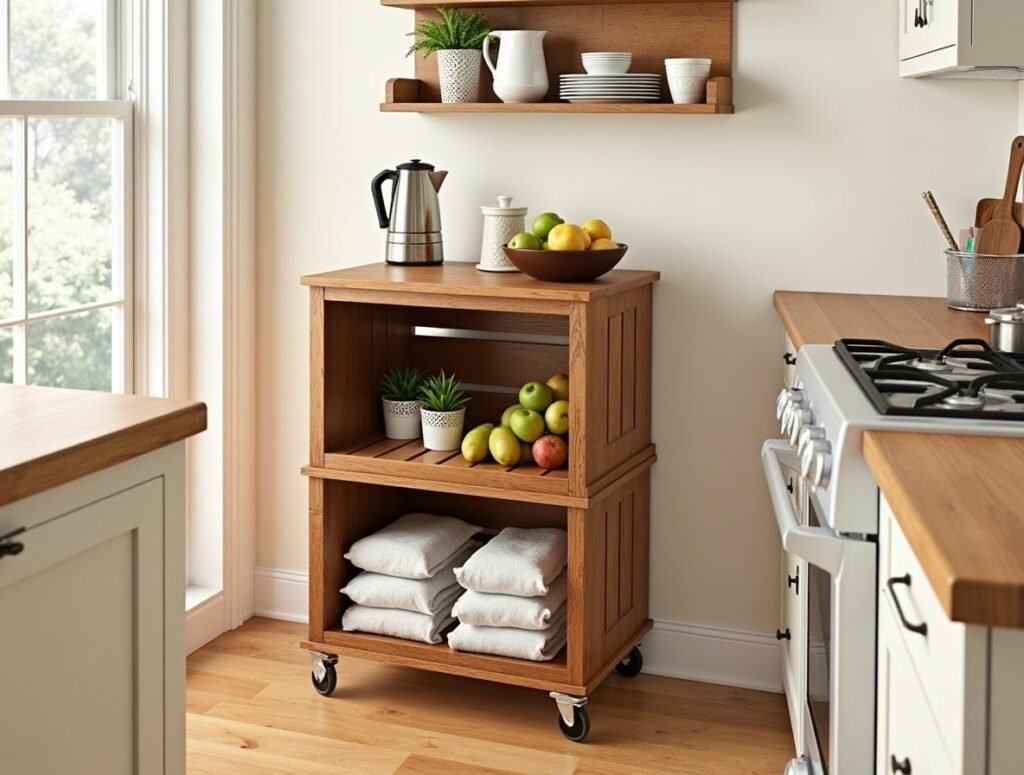
Overview
Turn old crates into a rolling kitchen cart for extra storage and surface space.
It’s rustic, mobile, and multi-functional.
Items Needed
- 2–3 wooden crates
- Casters (wheels)
- Screws
- Wood finish or paint
How to Arrange
Stack crates and screw them together securely. Attach casters to the bottom.
Optionally, add a wooden top for more utility.
Store produce, kitchen towels, or extra utensils and roll them wherever needed.
14. Colorful Dish Towel Hooks
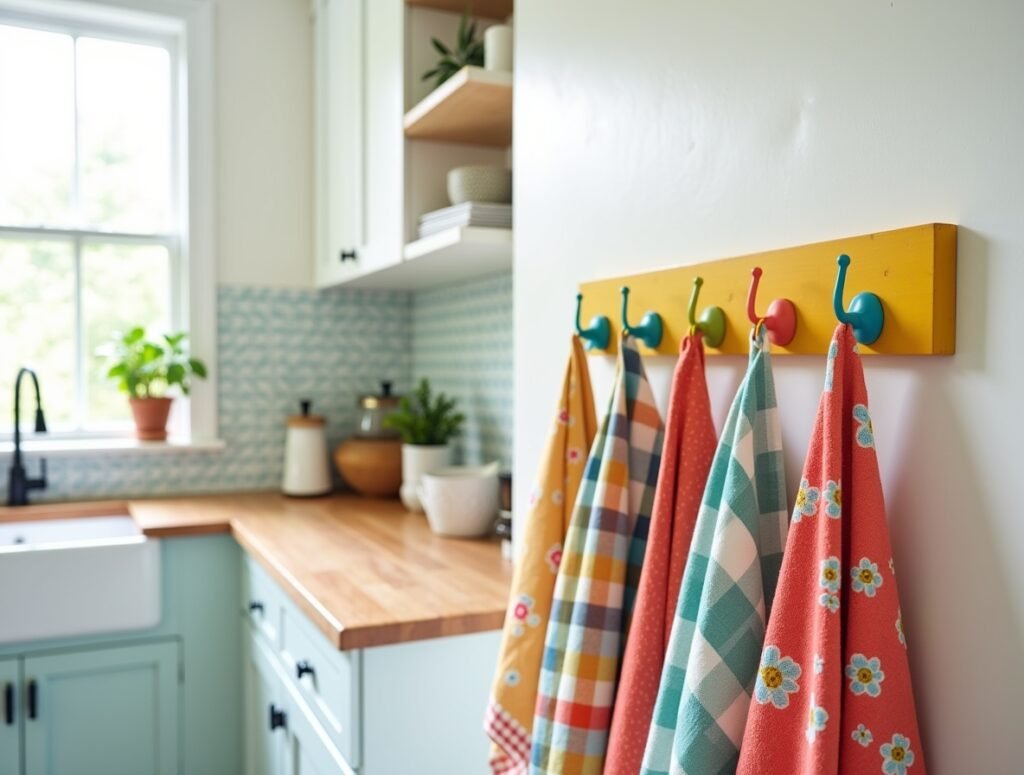
Overview
Add charm and function by creating a row of colorful hooks for hanging pretty dish towels or aprons.
Items Needed
- Wooden board
- Paint or stain
- Hooks
- Screws
- Wall anchors
How to Arrange
Paint or stain the board, then screw in evenly spaced hooks.
Mount the board near your sink or stove area.
Hang coordinated or patterned dish towels for a decorative, yet accessible display.
15. DIY Kitchen Decor ideas Menu Board
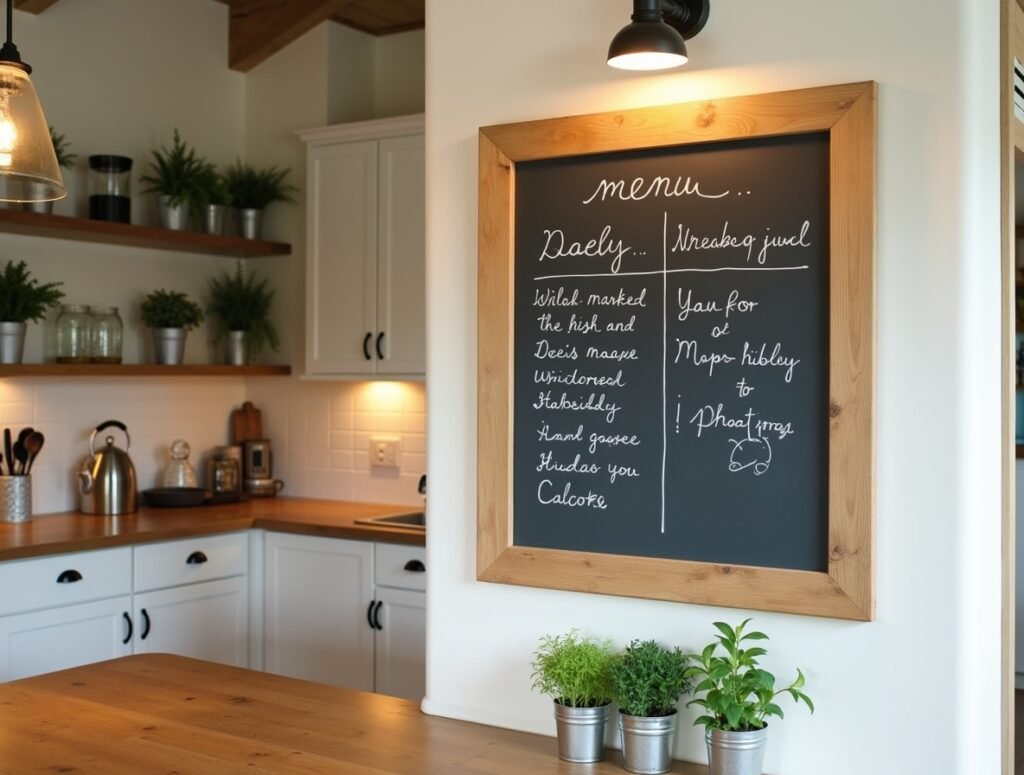
Overview
A chalkboard or whiteboard menu adds a cozy café feel and helps you plan meals and reduce food waste.
Items Needed
- Chalkboard or dry-erase board
- Frame
- Hanging hardware
- Chalk or markers
How to Arrange
Frame your board and hang it in a visible kitchen spot.
Use it to list weekly menus or meal ideas. Add fun doodles or quotes to make it feel welcoming and dynamic.
16. Cork Trivet Wall Art
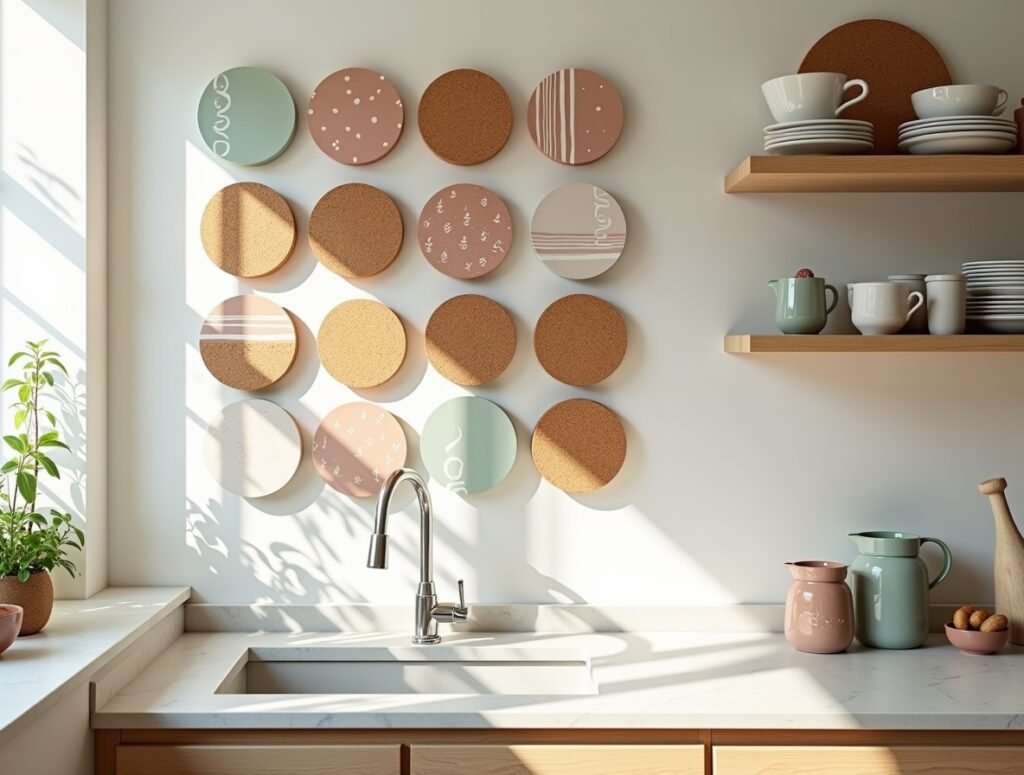
Overview
Combine function and style by turning cork trivets into wall art.
Great for quick access and texture-rich decor.
Items Needed
- Cork trivets
- Acrylic paint
- Paintbrushes or stencils
- Mounting strips or nails
How to Arrange
Paint cork trivets in geometric patterns or abstract art.
Let dry and arrange in a grid or scattered pattern on your wall using mounting strips.
Use them when needed or leave them up for texture and interest.
Check Out Next: 10 Best Kitchen Decor Ideas for Beach House
17. Painted Bottle Vase Display
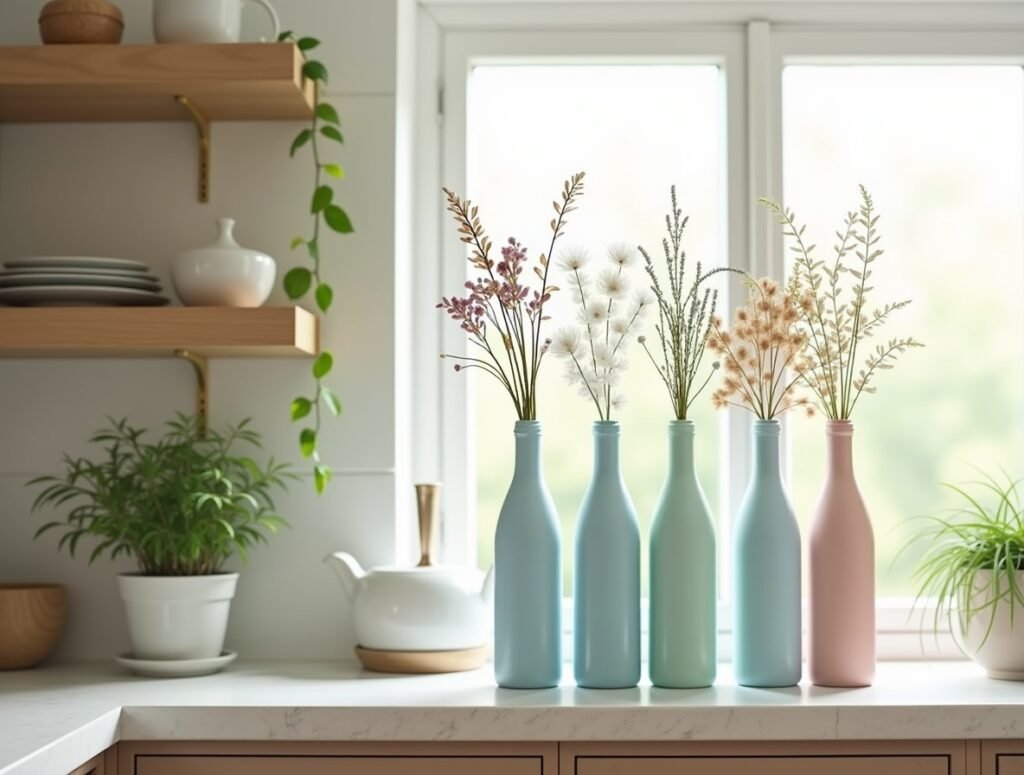
Overview
Old glass bottles become stunning decor pieces with a little paint and creativity—perfect for a kitchen window or shelf.
Items Needed
- Glass bottles
- Spray paint or acrylic paint
- Flowers or faux stems
How to Arrange
Clean and dry bottles. Paint them in solid or ombre colors. Let dry completely.
Group them in threes or fives and insert dried or fresh flowers.
Arrange along a shelf or windowsill for a soft, decorative vibe.
18. Tea Tin Planters

Overview
Repurpose vintage tea tins as charming mini planters for succulents or herbs, adding personality and greenery to your kitchen.
Items Needed
- Empty tea tins
- Small plants or succulents
- Gravel or pebbles
- Potting soil
How to Arrange
Add gravel for drainage, then fill the pots with soil and small plants.
Arrange a few tins together on a tray, windowsill, or counter.
Water lightly and enjoy their charming, vintage appeal and touch of green.
19. Hanging Fruit Basket Tower
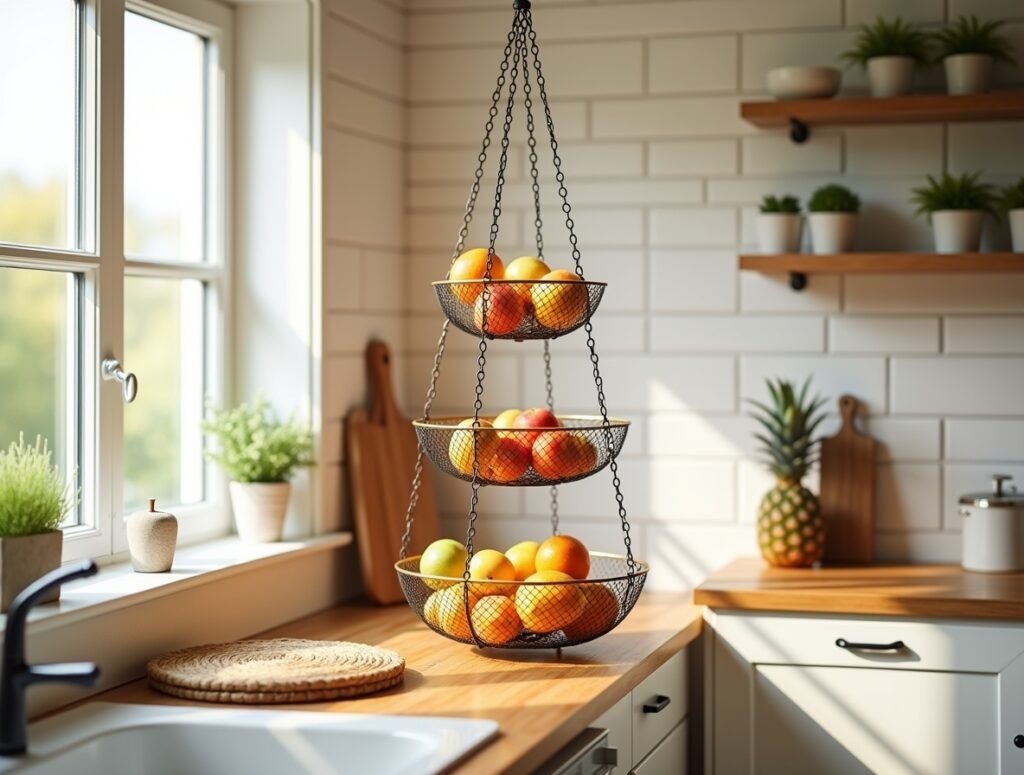
Overview
Save counter space and keep produce fresh with a DIY hanging fruit basket tower.
It’s practical and visually appealing.
Items Needed
- Wire baskets
- Chain or rope
- Hooks
- Spray paint (optional)
How to Arrange
Paint baskets if desired. Connect them vertically using chain segments.
Attach the top basket to a sturdy ceiling hook.
Hang in a corner and organize fruit by weight—heaviest at the bottom—to create a beautiful vertical display.
20. Repurposed Cutting Board Sign

Overview
Turn an old wooden cutting board into a farmhouse-style wall sign.
It’s a clever reuse idea that adds rustic character.
Items Needed
- Old cutting board
- Paint or chalk paint
- Stencils or vinyl letters
- Sandpaper
- Hanging hook
How to Arrange
Sand and paint the board. Add a quote or kitchen-related word using stencils or vinyl.
Distress lightly for a vintage look.
Attach a hook or jute string for hanging and display above your stove or on a gallery wall.